Download a printable PDF version of these instructions here.
| 1 | 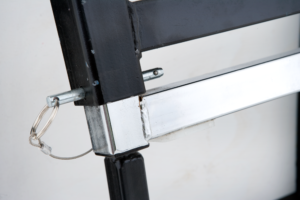 |
Undo the locking pins located on all four corners of the outer chrome extendable crossbar legs. |
2 | 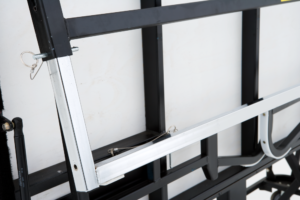 |
Slide the leg extensions down. Re-insert the locking pins to lock the leg into the extended position. Do not lower stage wing yet. Repeat leg extension for other side of stage. |
|
| 3 | 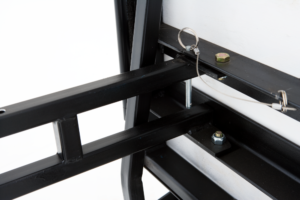 |
Remove the locking pins holding the lower “D-Legs”. Open the D-Legs outward. |
4 |  |
Re-pin the D-Legs in their open position Your stage is now ready to raise. |
|
| 5 |  |
Stand in the centre of the folded stage. Using the crossbar, gently pull the upper chrome leg outward and upward. Lower the stage wing until the D-Legs are on the floor. Repeat on the opposite side. |
6 | 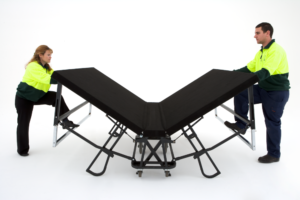 |
Do not leave the stage unattended in a half-open position. Place your foot in the centre of the extended chrome outer leg, and gently push downwards. |
|
| 7 | 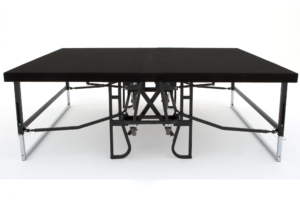 |
Your stage will now be in the open position. Do not attempt to move or reposition the stage until both wings are down and The D legs are ratcheted together securely as in step 8. |
8 | |
Use ratchet straps to link each pair of opposite D-Legs. You may now reposition the stage safely. |
|
| 9 | 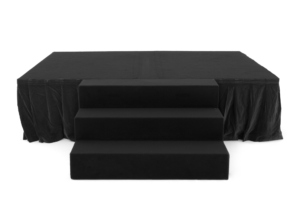 |
Add skirts, steps, rails and drapes if required. |
10 | 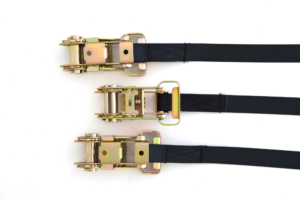 |
For maximum safety we recommend using ratchet straps to secure the stage segments together. |